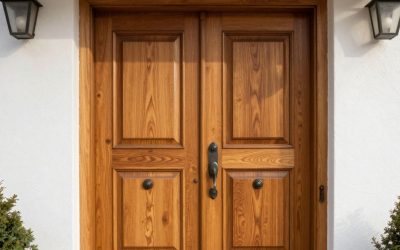
Air Leaks Around Windows and Doors
Want to cut down on your heating costs this winter? Take the time to stop air leaks around windows and doors. By replacing worn weatherstripping or touching up caulking, you can easily curb skyrocketing bills. Both of these projects are perfect for the DIY’er. Alternatively, you can hire a renovator, like the team at BestCan Windows and Doors, to help complete the tasks.
 Testing For Leaks

Move your hand around the seal of your windows and doors. Do you feel a draft or cool air rushing in? If so, you’ve just spotted a section in need of attention. Another common area for heat loss is the threshold of a door. If you can see light entering your home, this is a sure sign that the weatherstripping is past its prime.
Caulking & Weatherstripping
Window casement caulking, both on the inside and outside of your home, can become brittle or damaged. Depending on the colour of your caulking, you may be able to see the cracks in need of resealing. When shopping for caulking, be sure to purchase the right materials for either interior or exterior work. A quality home improvement store can guide you through the vast selection. Follow the directions on the tube, and be prepared to scrape off old caulking, peeling paint, or debris before applying the new caulking. You can make your effort to seal properly!
Weatherstripping is typically a flexible seal installed around the door jam. It is designed to seal your door and prohibit dreaded air leaks. Due to the harsh Canadian elements, along with daily wear and tear, weatherstripping can become damaged or start disintegrating. Thankfully, home improvement stores across the country sell weatherstripping replacement kits. In the event your old weatherstripping does not remove easily or a replacement kit with the correct sizing is unavailable, you may need to call a windows and doors specialist for guidance or assistance.